How we sent our first newsletter with Ghost, Mailgun and Claude
Ghost handles the publishing. Mailgun handles the delivery. Claude writes the content. Here's how we connected all three and sent our first newsletter — the infrastructure behind a weekly digest that runs itself.

The goal is a weekly newsletter that summarises the build. What went live, what we learned, what is coming next. Claude reads the week's posts and drafts the digest. But before any of that can be automated, you need the plumbing in place: a sending domain, a delivery service, and a platform that ties it together. This is that setup.
Step 1 — Create a Mailgun account
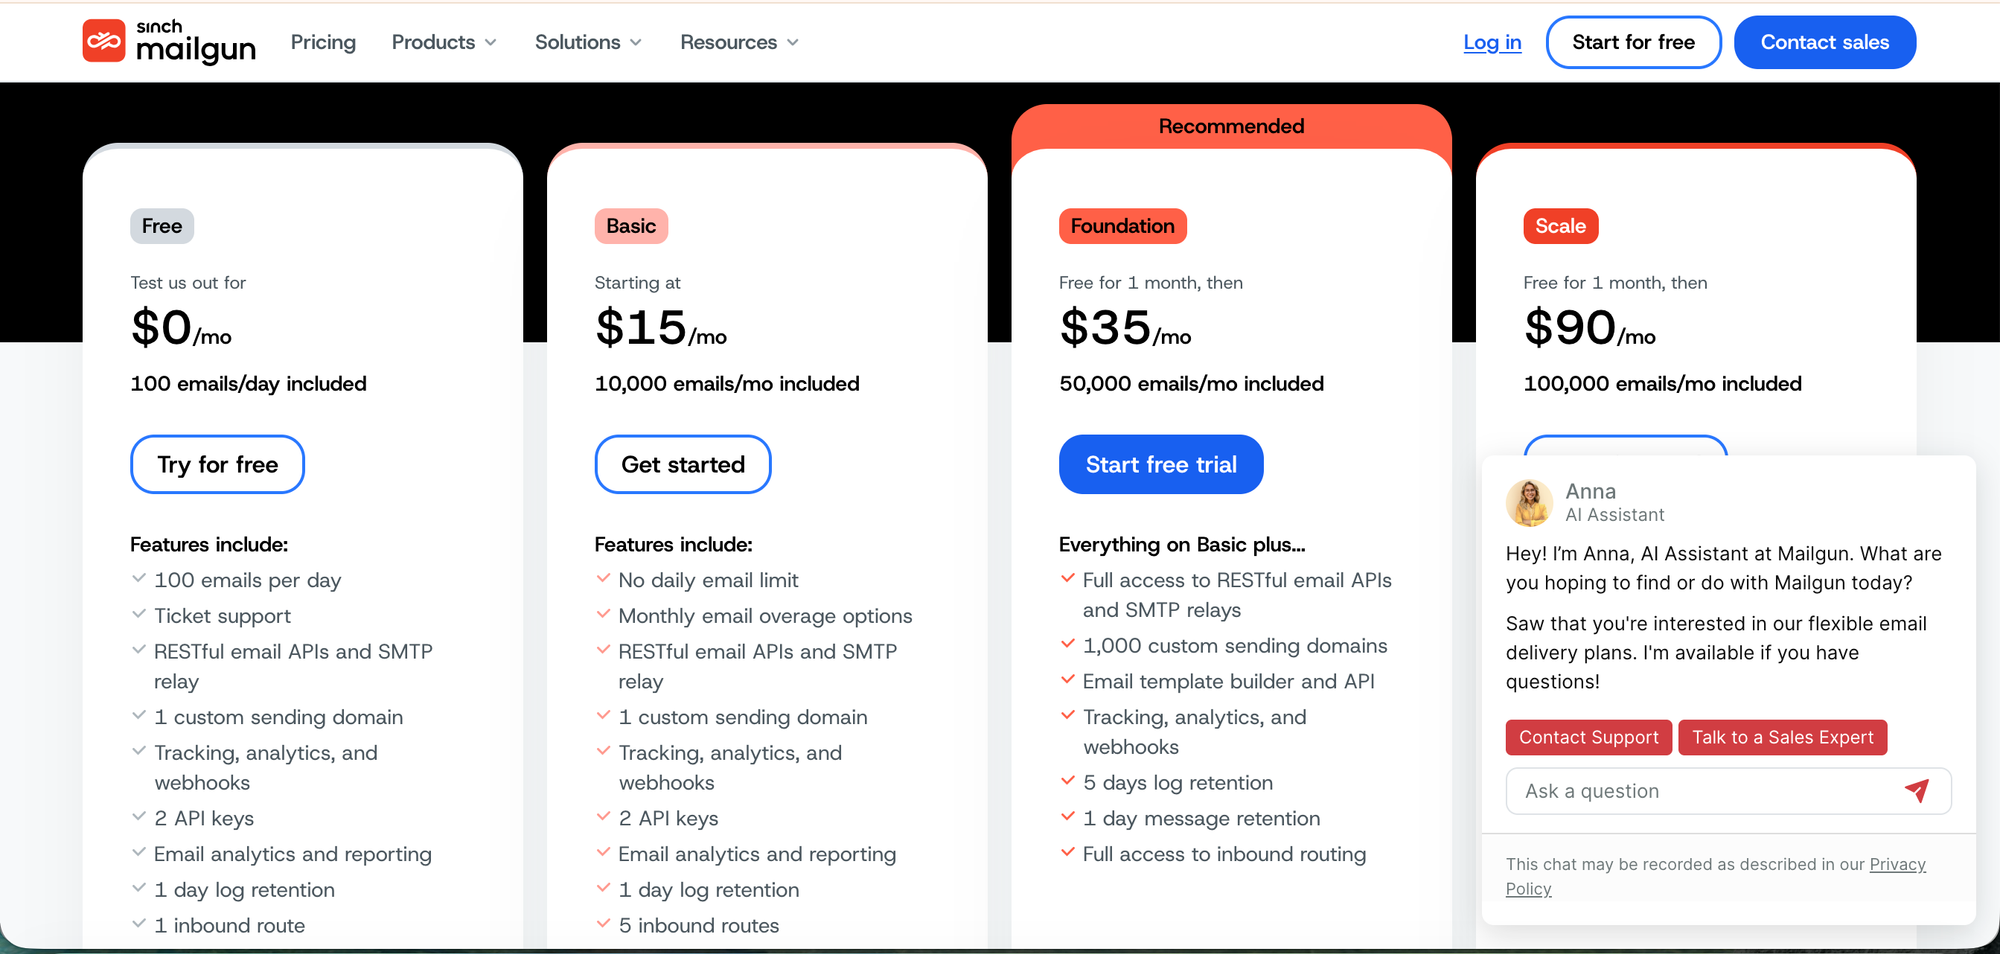
Go to mailgun.com and sign up. The Flex plan gives you 1,000 free emails per month to start — enough to get going without paying anything.
Once your account is created, verify your email address. If you hit the "too many activation codes" error, wait an hour and try again — it's a rate limit, not a permanent block.
Step 2 — Add and verify your sending domain
Mailgun needs a sending domain to prove your emails are legitimate. A subdomain works well — something like mg.inagentic.ai.
In Mailgun, go to Sending → Domains → Add New Domain and enter your subdomain.
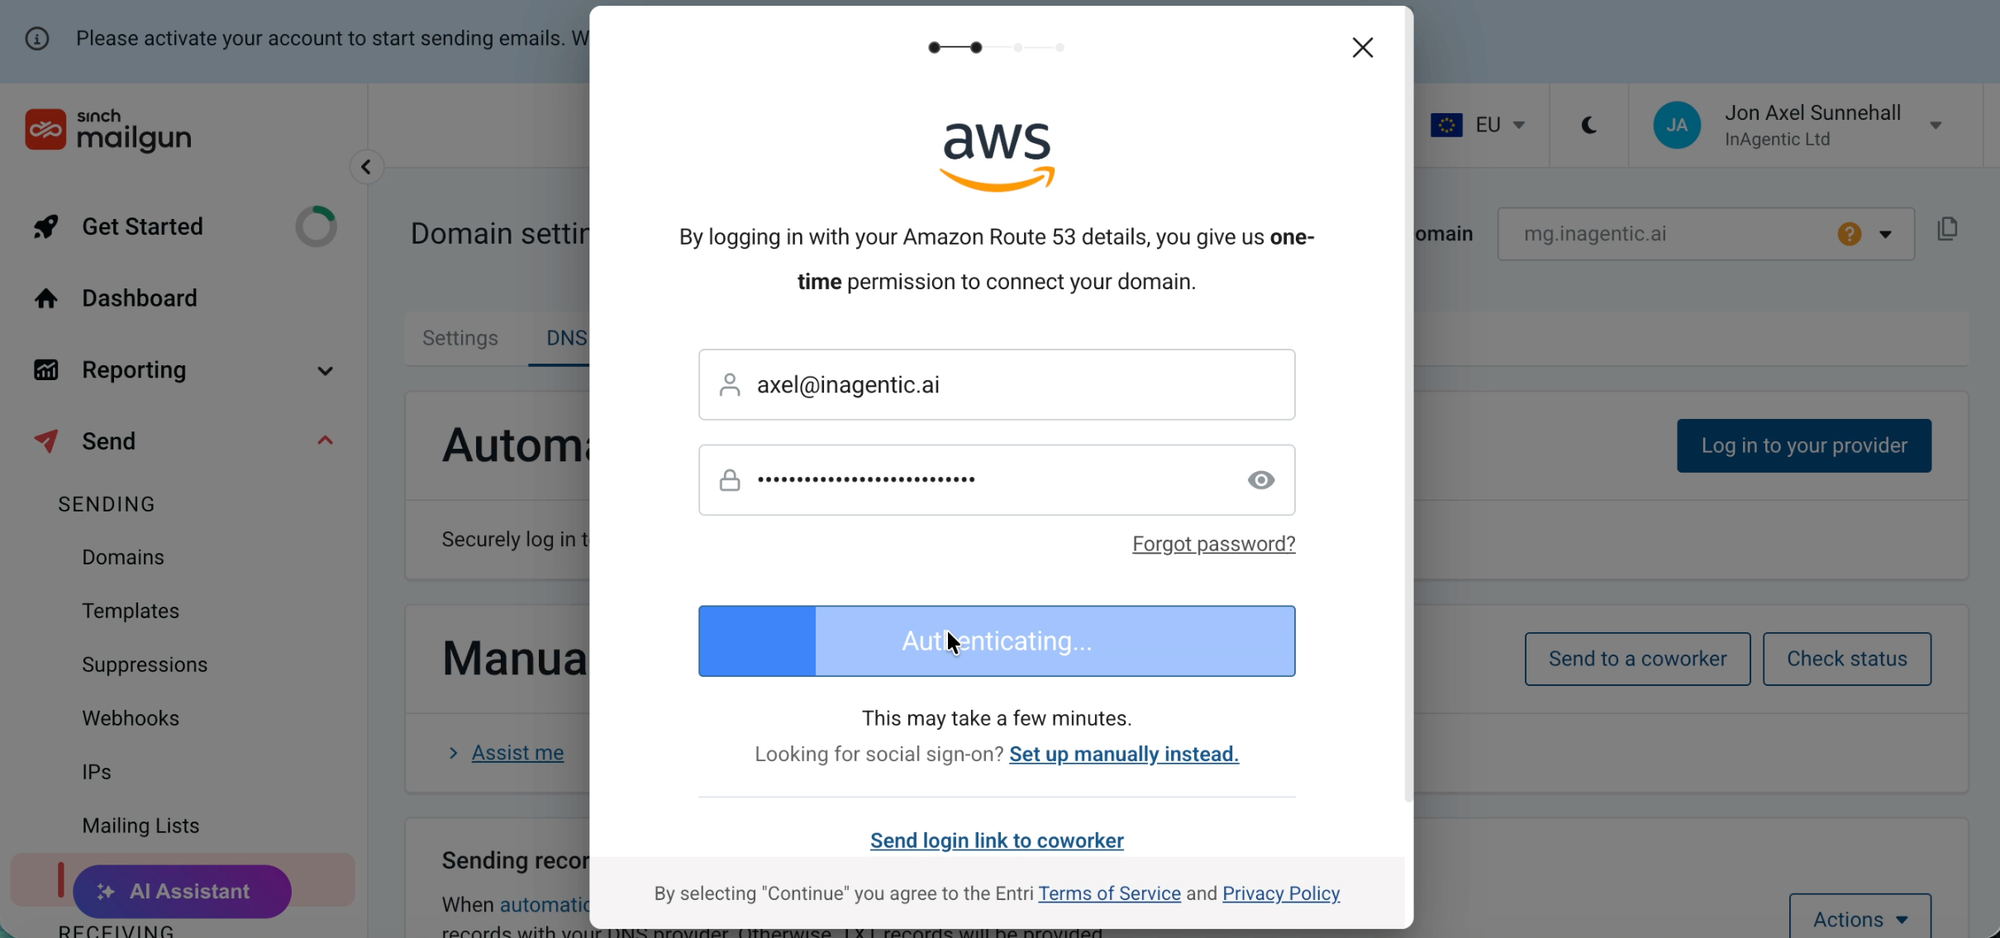
Mailgun then gives you a set of DNS records to add — typically two TXT records and a CNAME. This is where AWS comes in.
Adding the records in AWS Route 53:
- Go to Route 53 in your AWS console
- Click Hosted zones and select your domain
- Click Create record for each record Mailgun provides
- Set the record type (TXT or CNAME), paste in the name and value exactly as shown in Mailgun
- Save each record
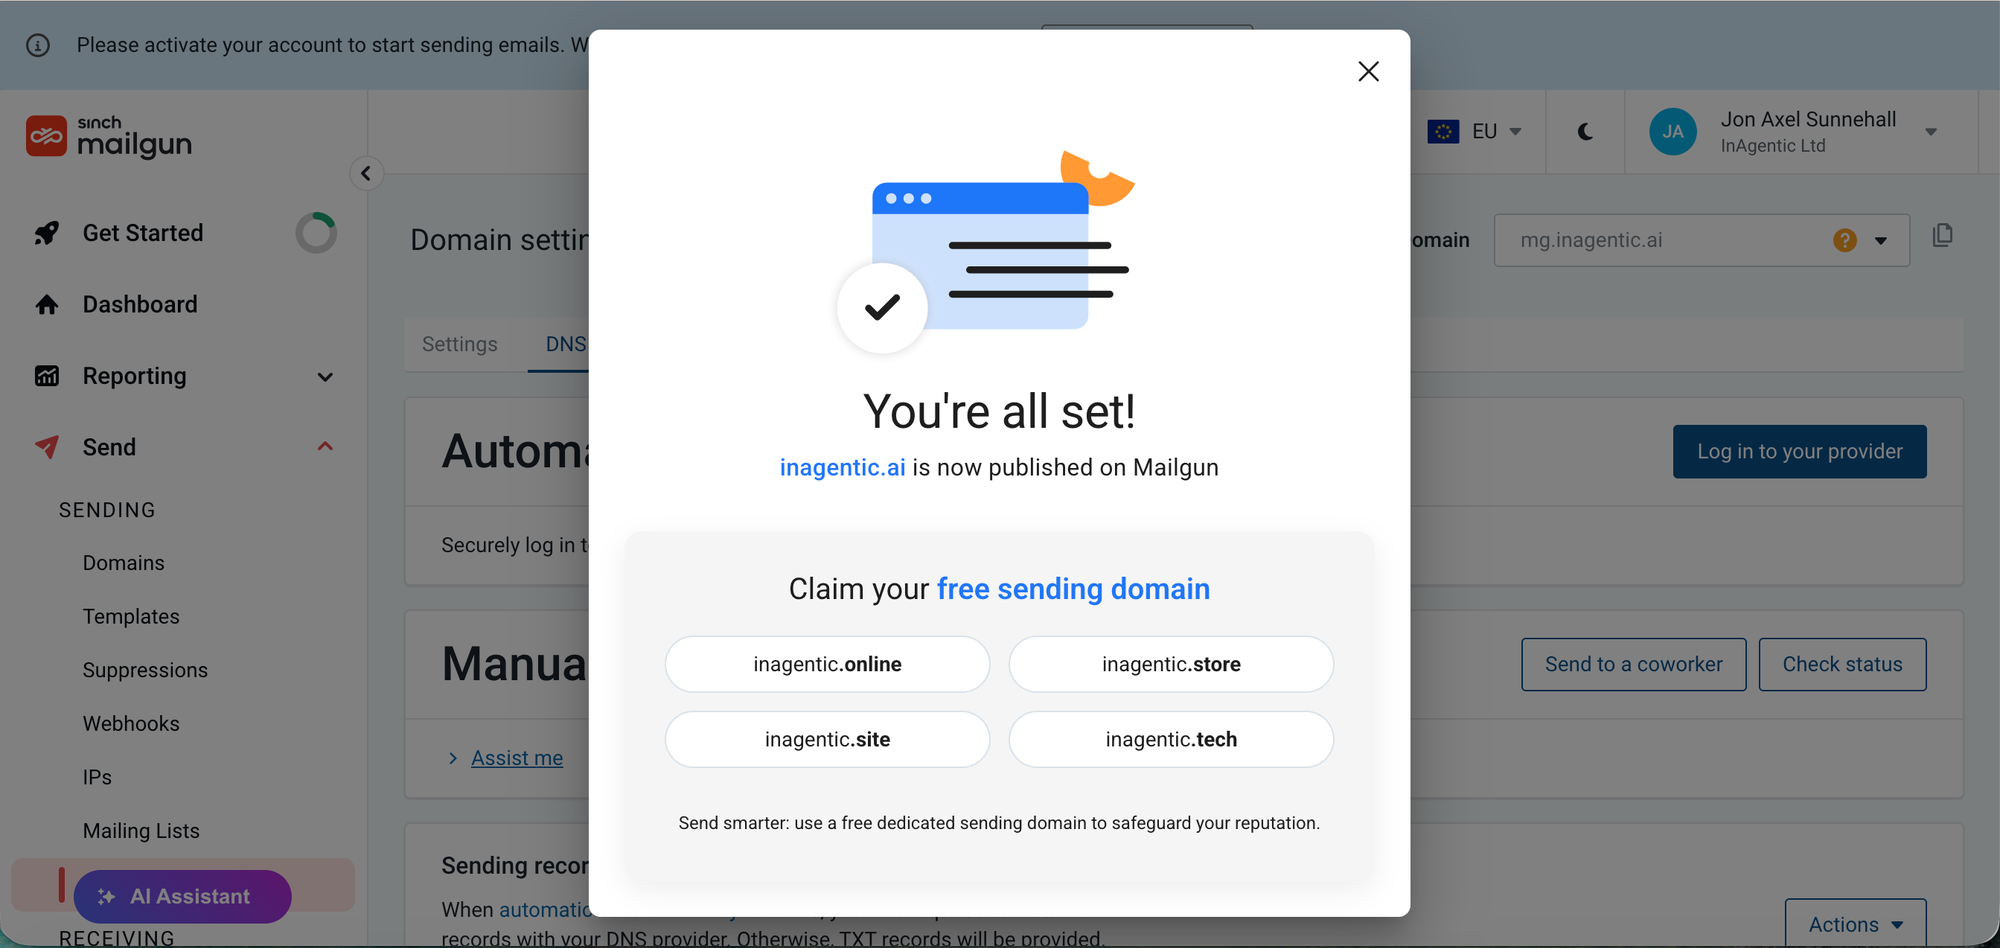
DNS changes typically propagate within 5–30 minutes. Once done, go back to Mailgun → your domain → click Verify DNS records. All records should show green. Your domain status changes to Active.
Step 3 — Get your Mailgun API key
In Mailgun, go to Account → API Keys and copy your Private API key. It starts with key-. Keep it somewhere safe — you'll paste it into Ghost once.
Step 4 — Connect Ghost to Mailgun
In Ghost Admin:
- Go to Settings → Email newsletter
- Set your Mailgun region (US or EU — match where you signed up)
- Enter your Mailgun domain — the subdomain you just verified
- Paste in your Mailgun private API key
- Save
Then click Send test email. If it arrives in your inbox, you're connected. If it lands in spam, double-check your DNS records are all verified in Mailgun.
Step 5 — Write your first newsletter with Claude
With the technical setup done, the next question is what to actually send.
This is where Claude comes in. Rather than starting from a blank page, we used Claude to read seven days of build posts and turn them into a structured newsletter — pulling out the key ideas, distilling the principles, and formatting it for email.
The process:
- Share the links to your recent posts with Claude
- Ask it to summarise each one in a few sentences, keeping the voice consistent
- Add any structure you want — day-by-day breakdown, callout quotes, a principles section
- Review and edit — Claude produces the first draft, you make it yours
- Paste the final content into a Ghost post as a markdown card
The newsletter went from seven long technical posts to a clean, readable digest in a single session. No blank page, no formatting wrestle — just editing.
The full stack
| Step | Tool |
|---|---|
| Publishing platform | Ghost |
| Email delivery | Mailgun |
| DNS management | AWS Route 53 |
| Newsletter writing | Claude |
Four tools, one afternoon, first newsletter sent.
What's next
The setup described here is manual — and intentionally so. Before automating anything, it needs to work reliably end to end. A newsletter that sends, lands in inboxes, and reads well is the foundation.
Once that's proven, the next step is automating the whole thing. Claude already drafts the content. The missing pieces are triggering that draft automatically, formatting it for Ghost, and scheduling the send — all without opening a browser. That's coming in a future chapter of the build.
First, get it working. Then, get it running while you sleep.
Jon Axel · inagentic.ai